Common Mistakes in Travel Storytelling: 10 Pitfalls to Avoid
October 29, 2026 - Stories


October 29, 2026 - Stories
October 25, 2026 - Stories
October 21, 2026 - Photography
At six in the morning the harbour is not what the postcard promised. The water, the boats, the far shore — all of it has been reduced to a soft grey wash, with three mooring posts and a gull holding the whole picture together. Most people photograph it anyway, glance at the back of the camera and shrug. The fog has made everything dull, they decide.
It has done the opposite. Mist is one of the few conditions that does half the editing for you: it deletes clutter, sorts a scene into layers and forces decisions about light that make a photograph look deliberate. Here is how that works, and how to shoot with it instead of fighting it.
A busy scene fails because too many things compete for attention. Fog removes competitors by distance. Whatever sits beyond a certain number of metres simply stops existing, and you get to decide where that line falls — by walking closer, stepping back, or changing lenses.
A tangle of power lines over a market street becomes a row of glowing bulbs and two silhouetted shoppers. A car park becomes a single plane tree. That is not a lesser photograph than the sharp, sunny version; it is a different one, and often a better one, because the viewer's eye has somewhere obvious to land.
The grey space matters as much as the subjects. Empty mist is not wasted frame — it is the pause that gives the anchor its weight. Resist the urge to fill it. If you can remove one more element from the frame and the picture still works, remove it.
A common assumption is that fog kills depth. In fact it rebuilds depth more clearly than clear air does. Distant objects appear lighter, cooler and lower in contrast than near ones, and the eye reads that falloff as distance. Four ridgelines fading into white will feel deeper than the same four ridgelines in hard sun, where everything competes at equal contrast.
To use this, look for stacking. Rooftops, then a church tower, then a hill, each one a step paler than the last. Then choose your position and focal length:
Height helps more than any lens. A hillside, a bridge, a hotel balcony, the top deck of a ferry: from above, the fog becomes a surface you are looking down onto, with shapes poking through. From inside it, you are just standing in grey.
This is where most fog photographs go wrong. Your camera's meter wants to turn everything into a middle tone, and a scene that is mostly bright mist gets pulled down to a dull, slightly dirty grey. The result looks nothing like what you saw.
Add light. Depending on how much of the frame is mist, start around plus one stop of exposure compensation and adjust from there. Then check the histogram: the bulk of the data should sit well to the right, without the brightest patch clipping. Smooth grey gradients are where banding and noise show up first, so a generous exposure and a low ISO pay off. Shoot raw if you can — recovering texture from soft highlight areas is far easier than lifting shadow detail out of a muddy file.
Fog takes on the colour of whatever light is passing through it: cool blue before sunrise, peach for a few minutes after, orange under sodium streetlamps, green-grey under trees. Do not neutralise all of it. A slightly cool white balance often suits dawn mist; a little warmth keeps sunrise fog from looking anaemic. Decide which colour the picture is about, then commit.
In editing, keep local contrast gentle. Heavy clarity and structure sliders turn soft mist crunchy and artificial, and halos around silhouettes become obvious against a plain grey background.
Because fog erases texture, form has to carry the photograph. That means silhouettes, outlines and simple shapes — a lone tree, a moored boat, a lamp post, a cyclist, the corner of a wall. A dark shape against pale grey is the whole grammar of the genre.
A few things worth checking before you press the shutter:
Backlight is your ally. Put the light source at an angle to the camera, or directly behind your subject, and the mist becomes luminous while the subject goes dark. Side lighting picks out the few textures left — wet stone, a wool coat, grass heads beaded with water.
Autofocus hunts in low contrast, and there is no way around it. Point the focus box at the highest-contrast edge available — the rim of a silhouette, the line where water meets a hull — lock, then recompose. For layered landscapes, manual focus with magnification is quicker and more reliable than fighting the camera.
Fog also hides distant detail, so depth of field matters less than you might expect. Focus on your anchor, stop down a little if you want the foreground sharp, and do not chase front-to-back sharpness that nobody will see.
Practically: carry a cloth for the front element, because mist condenses on cold glass the moment you stop moving. Let the camera acclimatise before you take the lens cap off, especially if you have come from a warm car or a heated room. Change lenses as little as possible. Cold mornings eat batteries, so keep a spare in an inside pocket.
Two kinds of fog behave very differently, and it helps to know which one you are chasing.
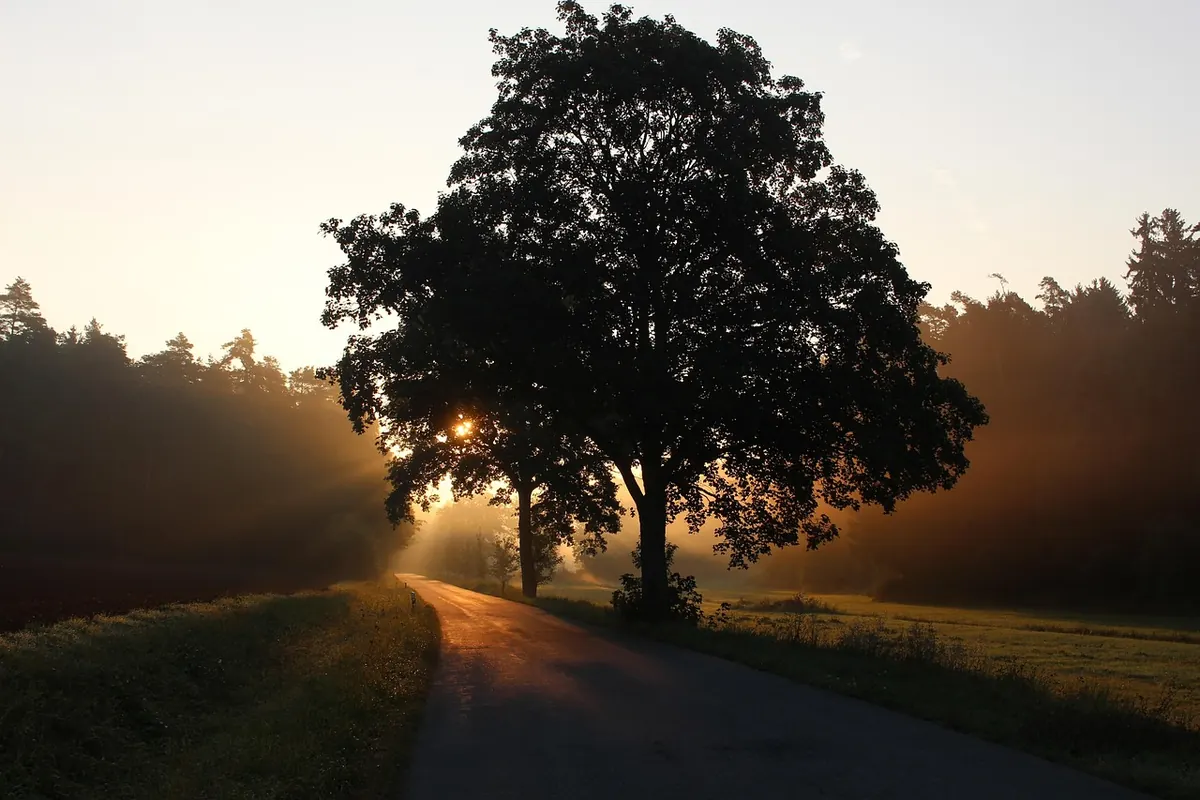
Radiation fog forms on clear, calm, humid nights after a warm day, and it is a dawn phenomenon: it thickens towards sunrise and usually thins within an hour or two of the sun getting up. You need to be in position early, and you should stay — the ten minutes when light first comes through the mist, turning it into visible beams and backlit haze, are often the best of the morning.
Advection fog, formed when warm moist air moves over a cold surface, can sit for a whole day and barely shift. Coastal and sea fog often behaves like this. Check the wind: a breeze tends to mix the air and break fog up, while dead calm lets it pool.
If you want a rough indicator, compare the forecast temperature with the dew point. A small gap between the two suggests saturation is close, and fog is likely — particularly in valleys, where cold air drains overnight and collects. Which is also why a viewpoint above the valley, looking down, usually beats standing in the car park at the bottom.
None of this needs special equipment. It needs an uninviting forecast, an early alarm and the willingness to stand in the cold for longer than feels reasonable. The photographs are usually waiting in exactly that gap.
Photo: Pexels / Pixabay
Ten habits that flatten travel writing, from postcard adjectives to missing stakes, each with a specific practical...
A working guide to coastal villages at first light: how fishermen, café counters, and shifting shadows shape a...
October 29, 2026 - Stories
October 25, 2026 - Stories
Copyright © 2026 Tracce Del Vento. All Right Reserved.