Common Mistakes in Travel Storytelling: 10 Pitfalls to Avoid
October 29, 2026 - Stories


October 29, 2026 - Stories
October 25, 2026 - Stories
October 21, 2026 - Photography
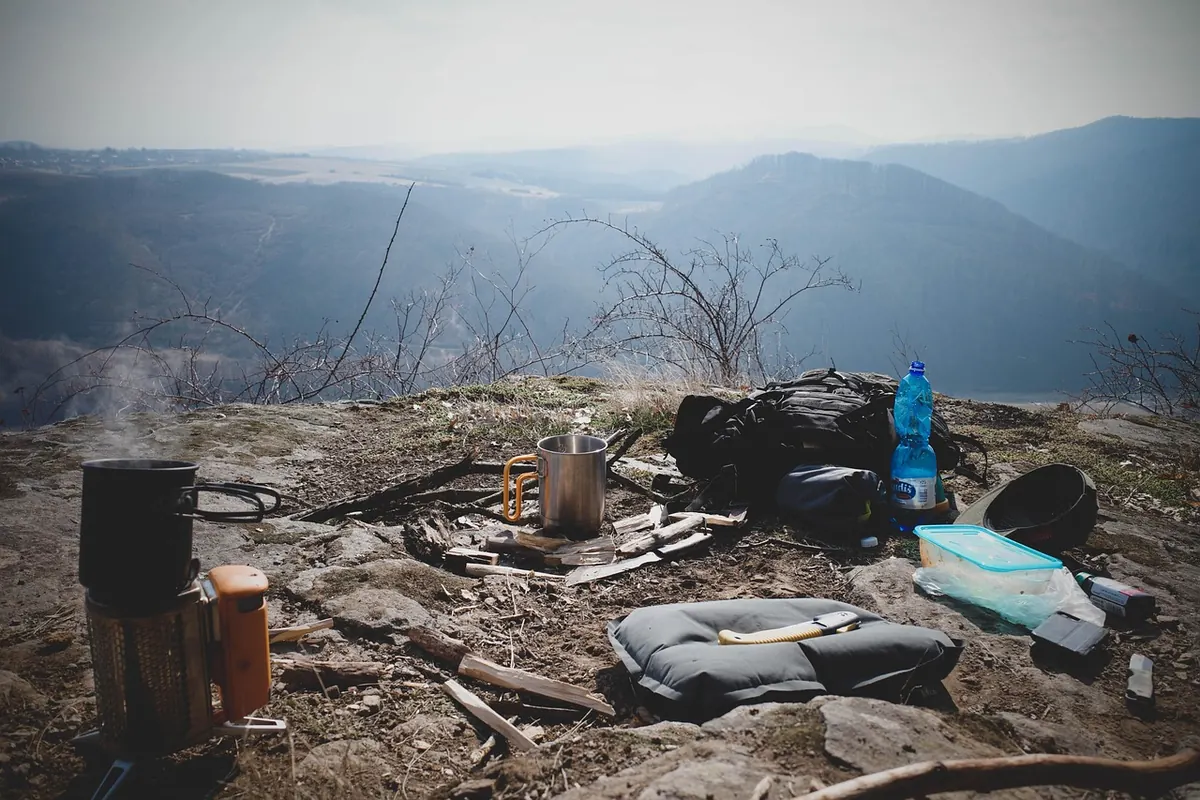
A weekend in the mountains has a way of exposing bad packing. Carry too much and every switchback feels longer; carry too little and a cold wind, a late arrival, or a sudden shower turns a pleasant hike into a lesson. The sweet spot is a pack you can lift with one hand and a kit that answers three questions: will I stay warm and dry, can I handle a small emergency, and do I have what I need to eat, drink, and take a few good photographs? This list is built for two or three days, not a summit expedition. It assumes you will sleep in a hut or a simple guesthouse, walk for several hours each day, and want to move without sounding like a cutlery drawer.
A 30- to 40-litre pack suits most hut weekends. If you are carrying a sleeping bag and mat, go closer to 45 litres. Before you pack, sort gear into three groups: what you need during the day, what stays at the hut, and what must stay dry. Put the heavy items close to your spine and the things you use often—water, snacks, map, rain shell, sunscreen—near the top or in the lid. A pack that carries well is worth more than a clever packing system.
Line the pack with a large trash bag or use dry bags for clothing and electronics. Mountain weather changes quickly, and a wet sleeping layer at dinner is miserable. Keep the rain cover in an outer pocket, not buried at the bottom. Side pockets are for water and a snack you can reach without stopping. If you cannot close the lid without sitting on it, remove something. A sleeping bag liner is often enough for a hut that provides blankets, and it saves space compared with a full sleeping bag.
Pack for the walk, the evening, and the unexpected delay—not for every possible version of the weekend.
Cotton is the wrong fabric for this trip. It holds sweat and rain, then chills you when you stop. Choose merino wool or synthetic layers that dry quickly. The system is simple: a base layer against the skin, a light mid layer for warmth, and a waterproof shell for wind and rain. Start slightly cool, add a layer before you start to sweat, and strip it off before you overheat. Think in terms of one dry set for the hut and one active set for the trail, not a fresh outfit for every day.
A spare pair of socks is worth more than a second book. If your boots get soaked, dry socks and dry feet at the hut can rescue the next day. In summer, add a light sun shirt; in shoulder season, add a second warm layer. Gaiters are optional unless you expect mud or deep snow. Keep a small stuff sack for dirty clothes so wet or muddy items do not contaminate the dry side of your pack.
You are not planning for disaster, but you are preparing for small problems that could become big ones: a turned ankle, a missed trail junction, a sudden nightfall, a cold lunch stop in the wind. This kit is small and light. Check it before every trip and replace anything used or expired. Tell someone at home where you are going and when you expect to return, and carry a charged phone even if you expect no signal.
The point is not to carry a pharmacy or a hardware store. It is to have enough to clean a scrape, tape a hot spot before it becomes a blister, light your way after sunset, and stay warm during an unplanned stop. A light emergency kit used once can justify its place in the pack for years.
Hut meals are often filling, but trail hunger arrives between meals. Pack food that survives being squashed, does not need refrigeration, and gives you energy without requiring a long stop. Aim for a mix of quick sugar, slower carbohydrates, and a little salt. Water is the heavier item, so plan refill points and carry a bottle or bladder you can actually drink from while walking. A small collapsible bottle is useful for the hut and for refilling before the final climb.
Food and water are where many weekend packs become too heavy. Carry enough for the day and the first evening, then rely on huts or villages if your route passes them. If you are unsure, add one extra snack and one extra litre—not a full second dinner.
Mountain navigation can fail in small, ordinary ways: a sign is missing, cloud drops onto the ridge, your phone battery dies after too many photos. Keep your map and route notes accessible, not buried in the bottom of the pack. A power bank is worth its weight if you rely on your phone for maps or photographs, but do not make your phone the only navigation tool. A paper map and a simple compass weigh almost nothing and work when the screen does not.
Before you close the pack, run a ten-minute check. Lay everything out, remove duplicates, and ask whether each item has a job. Then pack the heavy gear near your spine, keep water and snacks within reach, and confirm that your rain shell and headlamp are on top. Put the dry bag of hut clothes in last, so it stays protected. Finally, lift the pack and walk around the room. If it rattles or drags on your shoulders, adjust it now rather than on the first climb.
A good weekend pack is not the one with the most features. It is the one you can carry comfortably, open in the rain without soaking your spare socks, and live out of for two nights without feeling deprived. Pack light, keep the dry things dry, and leave room for the views.
Photo: Mikewildadventure / Pixabay
Ten habits that flatten travel writing, from postcard adjectives to missing stakes, each with a specific practical...
A working guide to coastal villages at first light: how fishermen, café counters, and shifting shadows shape a...
October 29, 2026 - Stories
October 25, 2026 - Stories
Copyright © 2026 Tracce Del Vento. All Right Reserved.